Adding Elements
How to add a new section
To add a new section, while inside the Edit screen click the large button which says:
+ Add New Element
This will take you to the Add New Section screen. Here you can:
- Choose to display your new section full width of the screen or use the default 1230px width.
- Choose if you’d like to add Elements in a horizontal scrolling fashion. So you can add multiple elements. Good for scrolling images and testimonials.

Choose number of columns
Choose how many columns you’d like. There are a variety of options here. Simply tab or click on the column structure you would like to add.
Then you’ll be taken to the Elements screen…

Add an Element
Next choose what you would like to add. There are 22 ready made elements to quickly drop into your web page.
See below all 22 elements.
Please view the prototype which shows exactly how each element works. e.g. the text and image fields and other options and features within the element which you can custiomise before you save it and it automatically drops into your page.
A section with its element inside it will be created as soon as you start to interact with the elements editing screen. e.g. if you start to type or change colour or upload an image.
The grey Save button at the top right will then turn green, indicating you have unsaved changes. If you navigate away from the page and go back into the Edit screen you will see your newly created section thumbnail added to the screen at the top. Here you can easily drag it to exactly where you want it on the page.

Text Element

Image Element


Image Gallery


Image Slider


Shutterstock API


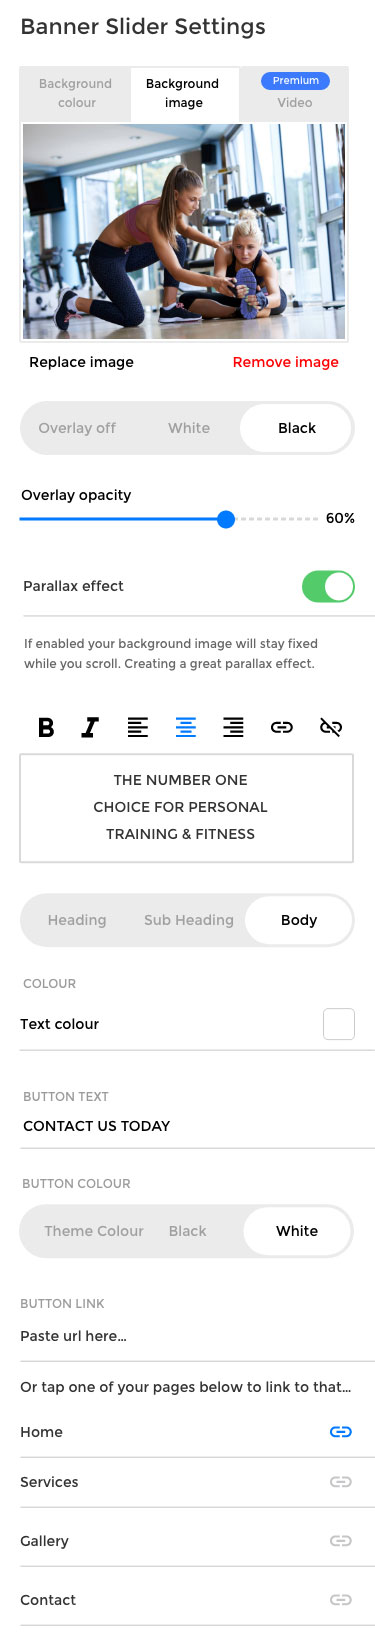
Banner Slider


Button Element


Video Element


Services List

Payment / Shop


Upload a File


Email capture

Form


Icon & Text

Location Map


Code


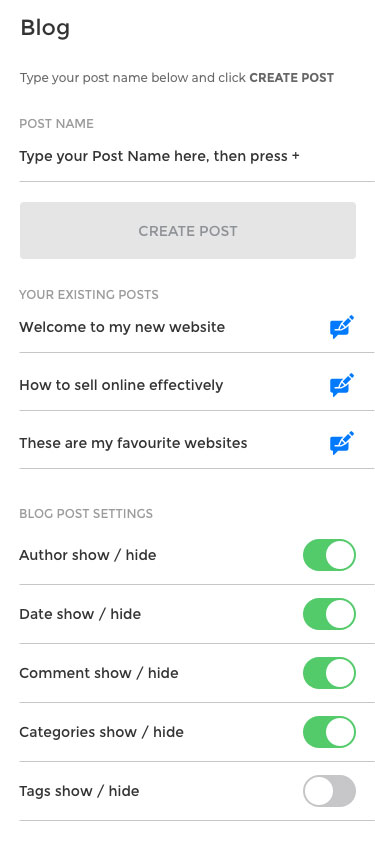
Blog

Testimonals


My Links


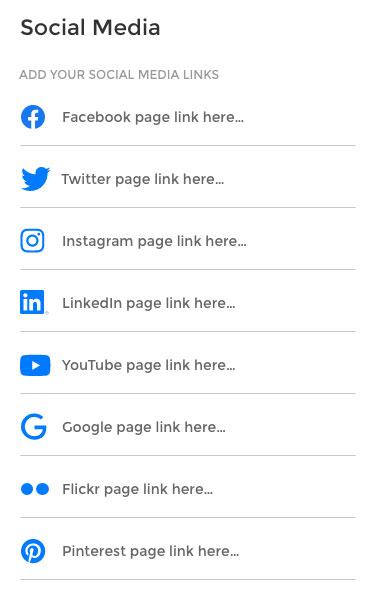
Social Media

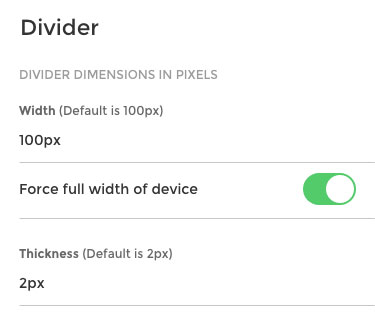
Divider

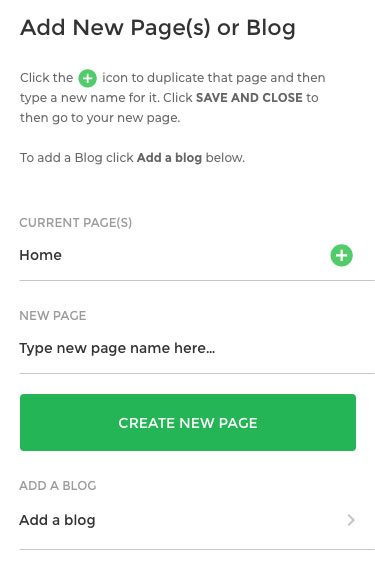
New Page(s)